
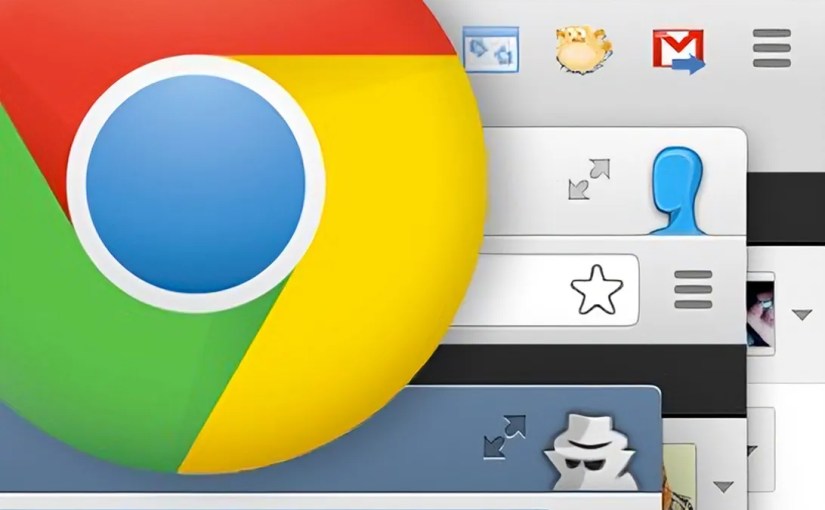
You may have already used the Chrome incognito profile, but what you may not know about is the fact that chrome now allows you to create and use multiple profiles on your computer. While incognito us used to specfically ensure that no data is stored or tracked on your system based on the sites and pages you visit, profiles allow you to better manage the various ways those pages are stored either online or off. Here is how to use them.
Incognito Mode:
Incognito mode ( i.e. the mode with the browser icon as a sunglass and hat wearing fellow in this blog’s screen shot ) prevents pages you visit from being tracked, stored in history and clears all cookies from your session once the window is closed, no matter what the site you are visiting has set. There are many reasons why you may want to do this. The cite version: You and your girlfriend use the same computer and you don’t want her to know about the surprise earrings you have been shopping for her online. The not so cute version, well, let’s just say you can avoid getting in trouble like Jim Levenstein does in American Reunion. (BTW, that movie is not worth seeing even if to only get the joke)
To enable incognito mode go to the menu (  ) option in the top right corner of your Chrome browser and select “New Incognito Window” or press Command+Shift+N . Also note: Chrome in your app on your mobile device has the same options and works the same way.
Signing in to Chrome
Chrome can connect to your GMail account, and doing so allows you to do things like sync bookmarks between devices, as well as allow you to edit your Google Drive documents stored on the cloud even while you have no internet connection available. This tool came in handy recently when I came up with some ideas for a document I was working on while at a hotel that didn’t have wifi available. I simply made the changes needed and when internet resumed the doc was synced and merged to my online version of the doc. By signing in to your Google account on chrome a default profile for your computer ( i.e. the mode with the browser icon as a head with no face in this blog’s screen shot ) will be automatically assigned to you and connected to the account you signed in with.
To login to your Google account in Chrome go to the menu ( ) option in the top right corner of your Chrome browser and select “Sign In”. You will then be given the Google login page. Sign in as you would with your GMail account and you are all set.
Enabling Your Chrome Profile to Work on Docs Offline
If you haven’t used your Google Drive already you should really take a second to get to know it. Not only can you store 5GB of files of any type for free in your Google Drive AND use them as a local drive on your computer and phone just like Dropbox, BUT you can use it to create and save documents of various types that you can use to collaborate on simultaneous with other users.
To explain the latter more clearly through example: We use Google Docs at Socialize at all our meetings. During the meeting we create a google doc and throughout the meeting anyone can add, append, change or update the way the notes are taken all at the same time. You can see one another typing as you type and often times most of the meeting will be completed in silence while everyone adds their notes to the doc. Collaboration is saved and shared in a document instantly.
But I digress…
To enable your Google docs to have offline access first go to your Google Drive (http://drive.google.com). On the left hand menu select the “more” drop down to reveal extra options. Finally click “offline docs” and enable. Your drive will sync your docs to your local Chrome profile. Note: If you do not see the “Offline Docs” in the “more” dropdown, and you are using Google App for work, you will need to either enable the feature in your Google App’s Admin portal, or get your sysadmin to do it for you. It is located in the Google Drive sectionof the Admin’s “Settings” tab.
Multiple Chrome Profiles
You are probably just fine getting your Google Drive working on your default Chrome profile to work on offline docs, just as I was for quite some time. The problem is that when I tried to enable offline docs for my personal Google Drive documents, as well as my work docs, the Google Drive system did not allow it. Chrome only allows one offline sync per Chrome profile. To fix this problem you will need to create an additional Chrome Profile on your browser ( i.e. create a mode with a different browser icon like the one with the Ninja in this blog’s screen shot ), and then enable Offline Docs in your Google Drive while in the correct profile.
To add additional profiles to Chrome go to the menu ( ) option in the top right corner of your Chrome browser and select “Settings”. Scroll down to the “Users” section and choose “Add new user.” Once you have added a profile correctly your Users section should look something like this:
Switching Between Profiles
To switch between profile simply click the icon for your current profile in the top right of the browser and choose the profile you wish to use. Once selected, a new browser window will open with that profile enabled.


